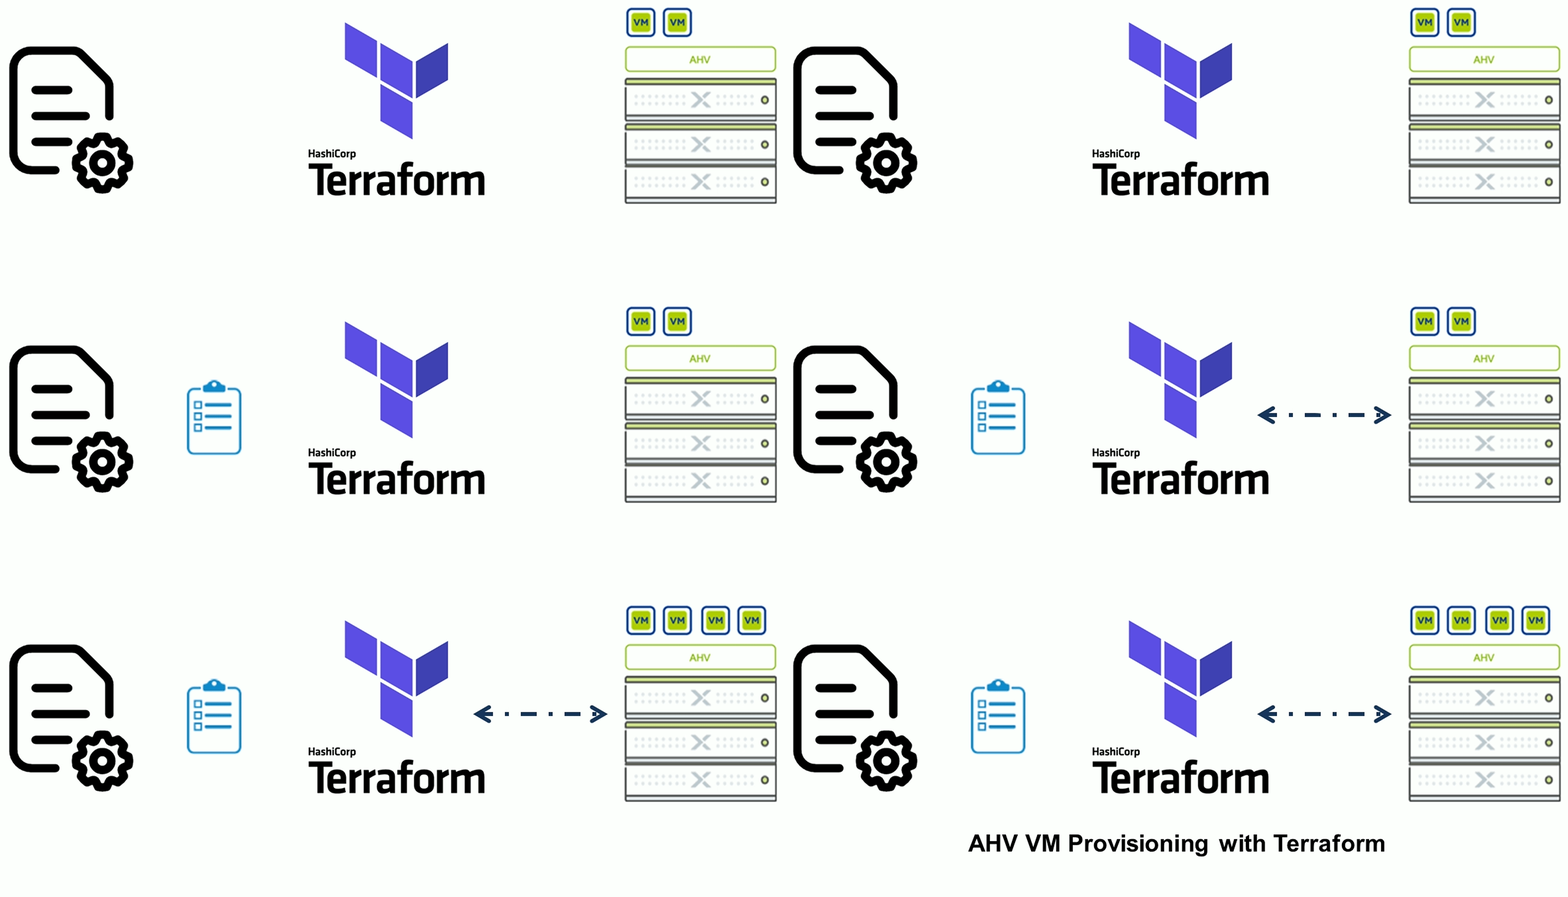
Nutanix and Terraform – VM’s Creation
I am sure you have heard of HashiCorp and Terraform solution.
Basically, Terraform is a tool/framework you can leverage to describe/define what your Infrastructure will look like and manage its provisioning (day 1) and Lifecycle (day2).
The power of Terraform is that the description of your Infrastructure is done by having a set of declarative configuration files that are human-readable, which means you don’t need to be an expert in coding to understand and use Terraform on a daily basis.
For folks with minimal knowledge on Terraform, I would start by reading Terraform’s documentation, which is quite complete, I must admit.
Did you know that Nutanix has its own Terraform Provider that you can use to consume services available on your Nutanix Clusters?. With the Nutanix provider, you can create, modify, manage, and destroy resources (basically entities/objects in the Terraform language).
Here is the Nutanix Provider: link
Of course, there is ongoing work to add more data sources/resources on the Nutanix provider which will enable more use cases for customers to use the combination of Nutanix and Terraform in order to reduce operational effort, risks, time, and increase consistency.
The idea of this blog post is to show you how you could leverage Terraform to spin up a bunch of dev VMs within a few minutes.
Before jumping to the video: I want to be clear that the code is personal and not supported neither by me or Nutanix, so use it at your own risk. For that specific video and use case, the code can be found here.
IMPORTANT
- For the purpose of this video, the credentials (prism_user and prism_password) are declared in the terraform.tfvars
- For obvious reasons, I would not do that on a Production code/environment
- What you can do instead, is use TF_VAR or environment variables (env var), see link
- export TF_VAR_prism_user = “MyPrismAccount”
- export TF_VAR_prism_password = “MyPrismPassword”
- Terraform is smart enough to search and use these 2 declared variables during the apply
Here is a list of requirements you will need in case you intend to reproduce the same thing in your lab:
- A network (VLAN98 in my example) has to be present on your Nutanix Cluster
- You need to generate a pair of ssh-key (pub/private). The SSH public key will be pushed on all provisioned VMs and the ssh private key will be used for connections.
- A template (image) with cloud-init available on the Image Service. I would suggest to download and import this generic CentOS7-Cloud image that has cloud-init already enable.
Ok, enough talking, let’s jump to the video:
If you have any questions or comments, please be free to reach out to us.

1 thought on “Nutanix and Terraform – VM’s Creation”