Nutanix : Files and VMware vRealize Automation integration

Nutanix Files is a native part of the Nutanix Enterprise portfolio and like any other Nutanix products, Files expose a REST API that can be used to automate many operations.

In the video below, we will cover how to extend many functionalities of Nutanix Files with both VMware vRealize Automation and vRealize Orchestrator in order to add a File as a Service in the vRA catalogue.

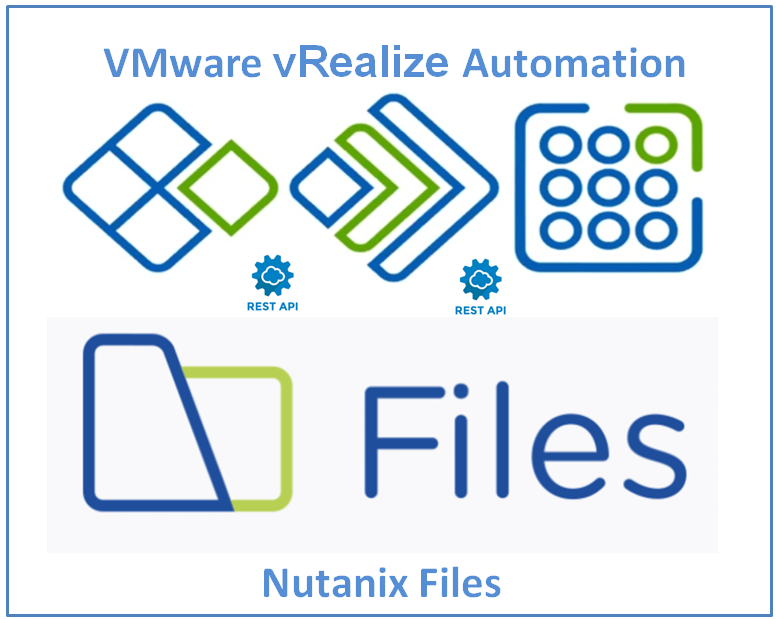
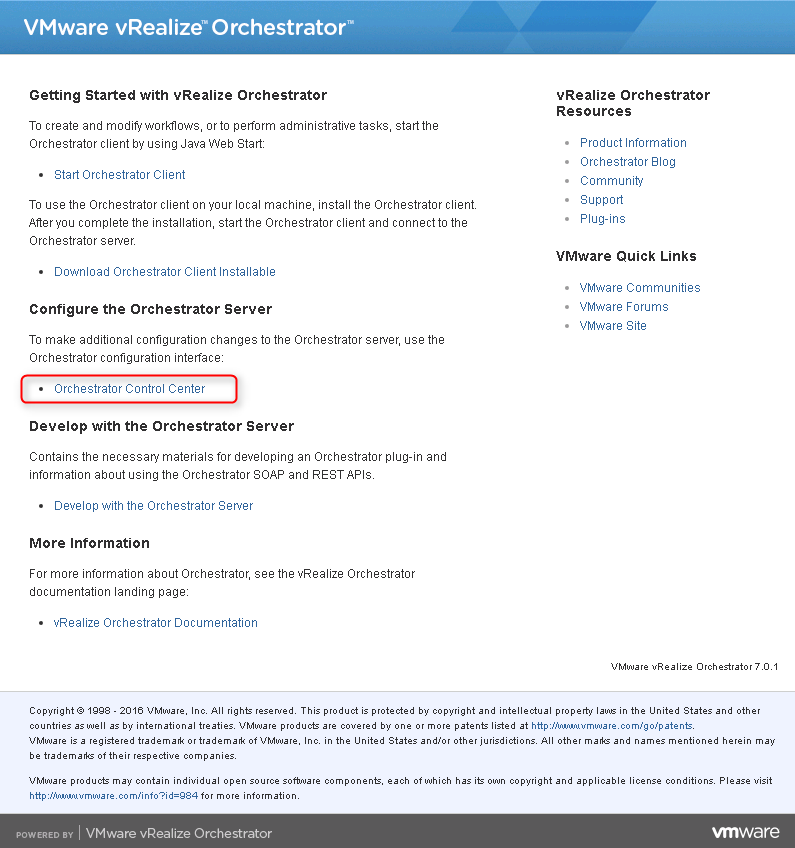
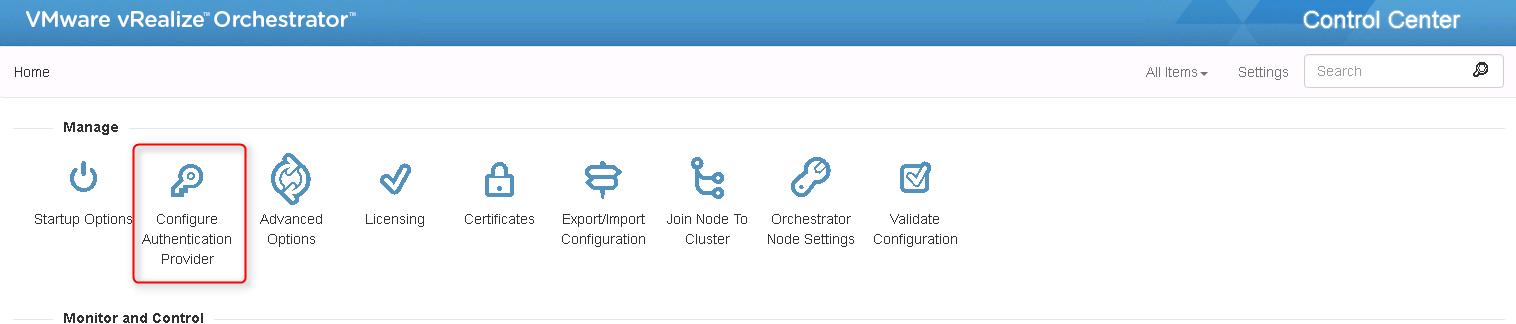
To do this, we integrate 3 platforms: Nutanix Files, vRealize Orchestrator, and the vRealize

Nutanix : vRO workflow to add or remove VM from a protection domain (ASYNC DR)

The ability to perform day-2 operations from a single management pane can make life’s of IT administrators easier, especially with a platform that adapts an API First architecture strategy.

VMware vRO has a built-in REST plugin that allows you to perform REST operations and workflows that you can run directly from your vCenter.

In this quick post, we cover the integration between vRO and the Nutanix platform in order to automate the following actions:

Add a VM to an existing

VMware: Request a CatalogItem with the vRA API

VMware : Request a CatalogItem with the vRA API


Dans cet article on va faire un tour sur l’API Rest offerte par vRA. Le but va être de demander et supprimer une machine virutelle via Rest API.

Quelques notions avant de débuter

  • GET = récupérer une information
  • POST = envoyer une information
  • vRA CatalogItem = Blueprint ou Template disponible sous forme de services qu’on peut consommer via le portail vRAa. (IaaS, XaaS, etc).
  • vRA CatalogResource = Machine déjà provisioné qu’on

vRealize Automation : Certificates vRA 6.x

vRealize Automation : Certificates vRA 6.x


Le but de cet article est montrer comment créer des certificats signés par une autorité (ROOT CA) pour un environnement vRA 6.x

Commencez par remplir un fichier de config dont voici le template

[ req ]
default_bits = 2048
default_keyfile = rui.key
distinguished_name = req_distinguished_name
encrypt_key = no
prompt = no
string_mask = nombstr
req_extensions = v3_req
[ v3_req ]
basicConstraints = CA:FALSE
keyUsage = digitalSignature, keyEncipherment, dataEncipherment, nonRepudiation
extendedKeyUsage = serverAuth, clientAuth
subjectAltName =

vRealize Automation : Error Request in Progress State vRA 6.x

vRealize Automation : Error Request in Progress State vRA 6.x


Après avoir manipulé un blueprint, nous nous sommes retrouvés avec une Request bloquée en Status : In Progress
Nous avons attendu quelque temps pour voir si la request allait tombé en Failed, même pas, celle-ci est restée bloquée en In Progress.

IMPORTANT : Les manipulations qui suivent ont été réalisées sur un environnement de test. Nous vous conseillons fortement en cas de problèmes similaires de voir directement avec le support VMware notamment

vRealize Automation : Intrégation NSX et vRA 6.x

vRealize Automation : Intégration NSX et vRA 6.x


Intégré VMware NSX avec vRA est de plus en plus demandé par les clients afin notamment de consommer des services NSX à travers l’API de NSX Manager.
Ainsi en couplant VMware NSX et vRA vous allez pouvoir offrir des services NSX “as a Service” à vos Business Group : Security Group, Load Balancing, Logical Switch, etc ..

Nous allons détailler dans cet article les étapes d’enregistrement et d’intégrations des deux produits.

Etape 1 :

vRealize Automation : Installation vRealize Business Standard 6.x

vRealize Automation : Installation vRealize Business Standard 6.x


vRealize Business est une appliance de la suite vRealize dédiée à la gestion des coûts et s’interface avec vRealize Automation. Ainsi avec vRealize Business, vous serez capable de mesurer le coût de votre Cloud, de gérer le consting.

Dans cet article nous allons nous intéresser à l’installation de vRealize Business en version Standard sur un environnement vRA 6.2.
La version que nous avons téléchargée est la 6.1.0.0 Build 2548009

Lien de téléchargement
: Download

vRealize Automation : Cannot connect to the Orchestrator Server

vRealize Automation : Cannot connect to the Orchestrator Server


En allumant notre LAB vRA 6.2, la plupart des services blueprints ASD tombaient en erreur.
En effet, vRA n’était plus connecté avec Orchestrator malgré le fait que le service vco-server était démarré côté appliance.

Voici l’erreur (côté Orchestrator Endpoint)

Unable to configure vCO plug-ins as endpoint (designer-service.vco.endpoint.registration.error)

C:\Users\igor\Desktop\img_557488ea878dc.png

Ou encore  (côté Orchestrator Server Configuration)

Cannot connect to the Orchestrator server

Le bug est connue chez VMware et touche apparemment toutes les versions

vRealize Orchestrator : vCO Plugin pour NSX

vRealize Orchestrator : vCO Plugin pour NSX


De manière native, vous ne trouverez aucun workflow, element VMware NSX sur vRealize Orchestrator.
Si vous souhaitez automatiser votre environnement VMware NSX avec Orchestrator, le plugin NSX pour VMware vCenter Orchestrator est a téléchargé directement sur le site de VMware.

Lien : VMware vCenter Orchestrator Plugin 1.0.2 for NSX

C:\Users\igor\Pictures\Screenpresso\2016-09-25_18h12_09.png

Une fois le Plugin vCO pour NSX téléchargé, connectez-vous sur le panel d’administration de votre vRealize Orchestrator.
Pour Rappel URL Orchestrator : https://IP_Orchestrator:8281/vco/

C:\Users\igor\Pictures\Screenpresso\2016-09-25_18h12_51.png

Une

vRealize Orchestrator : Configuration de vRO

vRealize Orchestrator : Configuration de vRO


Dans cet article, nous nous intéressons à la configuration de vRealize Orchestrator 7.

L’appliance vRO est déployée sur notre infrastructure.

D:\Utilisateurs\zecevici\Pictures\Screenpresso\2016-07-26_11h14_09.png

On accède à l’interface de vRO : https://192.168.110.23:8281

D:\Utilisateurs\zecevici\Pictures\Screenpresso\2016-07-26_11h14_50.png

On clique sur Orchestrator Control Center
Des credentials de connexion vous seront demandés :
– Compte : root
– Password : renseigné lors du déploiement de l’Appliance

D:\Utilisateurs\zecevici\Pictures\Screenpresso\2016-07-26_11h14_57.png

Une fois connecté, on clique sur configure Authentification Provider
Ce menu permet de gérer l’authentification à vRO.
D:\Utilisateurs\zecevici\Pictures\Screenpresso\2016-07-26_11h18_02.png

Après avoir